Quick Guide
- Dead Weight features at least three distinct regions, each with escalating enemy threats.
- Region 1 introduces basic enemies, focusing on core combat and resource management.
- Region 2 adds new enemy types, counterattack buffs, and healers with instant resuscitation.
- Region 3 introduces "no wind-up" enemies, drastically changing gameplay and requiring precise tactics.
- Adapt your strategy and crew builds to succeed through each region's unique pacing.
Embarking on a roguelite adventure in the steampunk world of Dead Weight means facing ever-increasing challenges across its floating islands. Understanding the distinct characteristics of each area is crucial for survival and progression. This Dead Weight Steam regions guide will walk you through the various phases of your journey, detailing the specific threats and pacing you can expect in each, helping you plan your runs more effectively.
Dead Weight is a single-player steampunk RPG/strategy game where you command a flying pirate ship, exploring floating islands and engaging in turn-based tactical combat. As you progress, you'll encounter different enemy factions, each designed to test your strategic prowess in unique ways. Mastering the game requires not only solid combat skills but also a keen awareness of how each region shifts the gameplay dynamics.
Unveiling the Steampunk Skies of Dead Weight
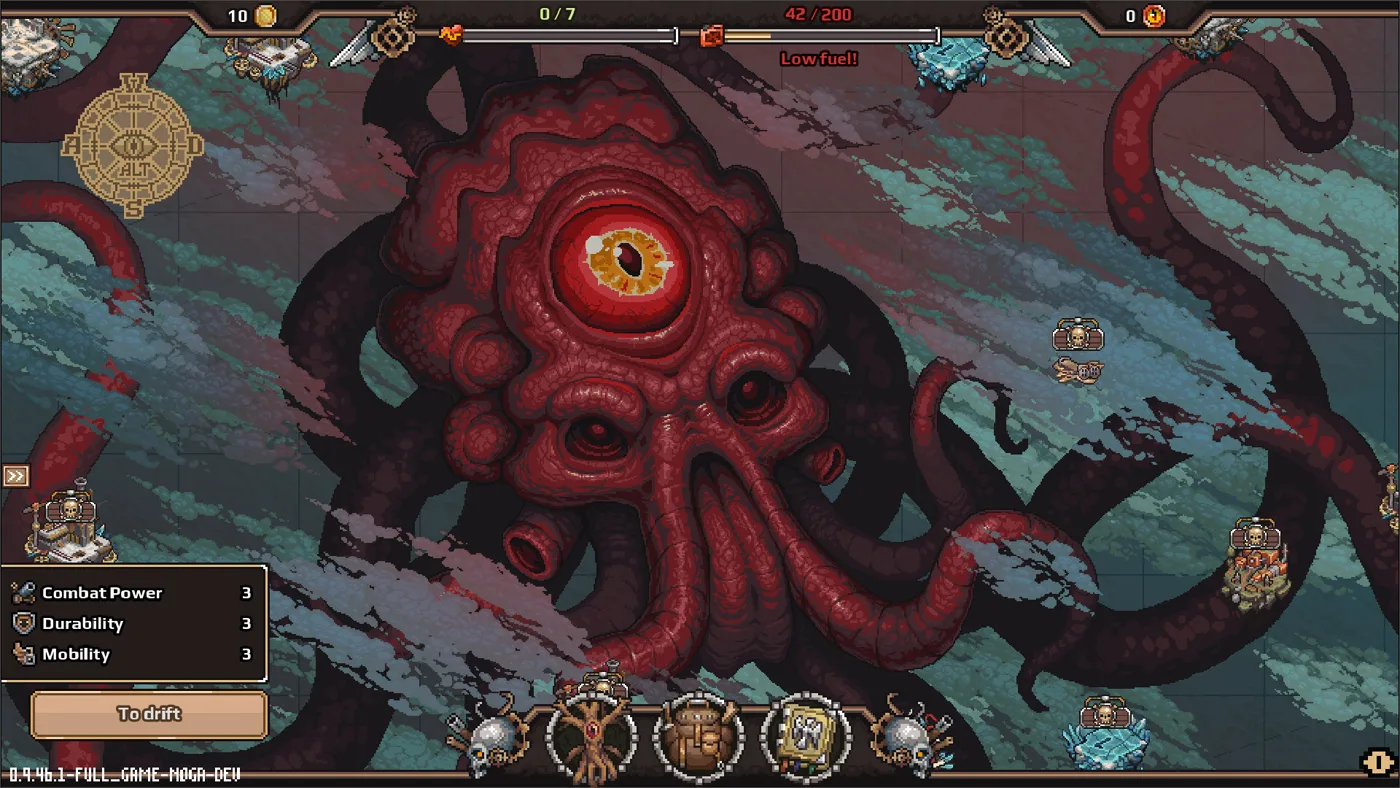
In Dead Weight, your goal is to set the sails of your flying pirate ship and explore various floating islands, battling ancient gods and collecting loot. The game’s roguelite nature means every run presents new opportunities and challenges, but the underlying structure of its regions provides a consistent framework for progression. As you clear combat islands, your ship will eventually drift towards a region's boss, marking your advancement to the next phase of your adventure.
The journey is structured into distinct regions or "phases," each introducing new enemy types, mechanics, and a significant increase in difficulty and complexity. Successfully navigating these regions requires adapting your strategy, optimizing your crew, and managing resources efficiently.
Navigating the Regions: Your Roguelite Journey
Player experiences suggest that Dead Weight features at least three primary regions, each escalating in complexity and requiring different approaches. Think of these not just as geographical areas, but as distinct gameplay chapters that demand evolving tactics.
Early in a run, especially in the first two regions, the pacing allows for building up your power, experimenting with crew compositions, and gathering resources. However, as you delve deeper, particularly into the third region, the game's tempo shifts dramatically, demanding immediate adaptation and mastery of advanced combat scenarios.
Region 1: The Initial Challenge
The first region of Dead Weight serves as an introduction to the game's core mechanics and enemy types. Community reports indicate that the enemies encountered here are relatively straightforward, focusing on basic attacks that resolve after your turn. This phase is designed to help you get comfortable with the turn-based tactical combat, character abilities, and the crucial element of positioning on tiny battlefields.
Your primary objective in Region 1 should be to efficiently clear combat islands, accumulate loot, and begin developing your chosen class and crew. Resource management, such as refueling your ship and managing health, will be important, but the combat encounters themselves are generally forgiving enough to allow for learning and initial character development. Focus on understanding your heroes' strengths and weaknesses, and how their skills interact in combat.
Region 2: Escalating Dangers and New Mechanics
As you venture into the second region, the game introduces a significant step up in challenge. According to patch notes and player observations, this region brings in new enemy types that demand more caution. You'll start encountering foes with unique abilities, some of which can execute moves during your turn, disrupting your planned actions.
One notable threat in Region 2, as highlighted in official patch notes, is the introduction of enemy healers with an "instant resuscitation" ability. These healers can activate immediately and target units up to three tiles away, making it critical to prioritize their elimination or control. Additionally, many enemies in this phase may possess a "counterattack" buff, punishing careless attacks.
The economic pacing also changes; the cost of resting at the Tavern increases with each visit, forcing more thoughtful resource allocation. In Region 2, your strategies need to evolve from simple damage output to include crowd control, target prioritization (especially healers), and careful consideration of enemy buffs and turn order.
Beware of instant resuscitation in Region 2!
Enemy healers in this region can instantly revive allies. Prioritize eliminating them or using crowd control to prevent them from turning the tide of battle.
Region 3: The Ultimate Test of Skill
The third region is where Dead Weight truly shifts gears, presenting the most significant challenge and a dramatic change in gameplay pacing. Player experiences consistently highlight this phase as a critical turning point where the game's difficulty spikes. The "third faction" of enemies introduced here often shares traits with previous foes but adds a brutal new mechanic: "no wind-up" abilities.
These "no wind-up" enemies can execute offensive moves during their turns without any prior indication, providing a false sense of security. This drastically alters the tactical landscape, as you can no longer solely rely on anticipating enemy actions from visual cues. What might have been a predictable turn-based encounter in earlier regions becomes a high-stakes puzzle requiring precise positioning and immediate threat assessment.
Successfully navigating Region 3 often means adapting your entire approach. You'll need to focus on eliminating immediate threats, utilizing movement and crowd control to mitigate unexpected damage, and ensuring your team builds are robust enough to withstand sudden bursts of enemy aggression. This region truly tests your understanding of the game's mechanics and your ability to react under pressure.
Mastering Regional Pacing: General Strategies
To plan your progression through Dead Weight's regions, consider these overarching strategies:
- Early Game (Region 1): Focus on learning, experimenting with character abilities, and building a solid foundation of resources and equipment. Don't be afraid to take calculated risks to secure better loot.
- Mid Game (Region 2): Begin to specialize your crew and refine your combat tactics. Prioritize enemies with disruptive abilities (like healers) and be mindful of counterattacks. Resource management becomes more critical as costs increase.
- Late Game (Region 3): This phase demands mastery. Adaptability is key, as is the ability to identify and neutralize high-priority, "no wind-up" threats immediately. Strong positional play and synergistic crew builds are paramount for survival.
- Resource Management: Always keep an eye on your oil levels and gold. The increasing cost of resting at the Tavern means you can't rely on it indefinitely. Make strategic choices about when to engage and when to seek safe harbor.
- Crew Synergy: As you unlock more heroes, experiment with different party compositions. A balanced team with good damage, crowd control, and support will be invaluable in later regions.
- Feedback Loop: Dead Weight is a roguelite, so every run is a learning experience. Pay attention to what works and what doesn't, especially when facing new enemy types or boss encounters. The developers actively encourage player feedback, which helps shape future improvements to the game.
By understanding the distinct challenges and pacing of each region in Dead Weight, you'll be better equipped to formulate winning strategies and conquer the steampunk skies. Good luck, pirate!
For more information and community discussions, visit the official Dead Weight Steam page: Dead Weight on Steam
FAQ
Q: How many regions are there in Dead Weight?
A: Based on player experiences and game patch notes, Dead Weight features at least three distinct regions or "phases," each with its own set of challenges and enemy types.
Q: What makes the regions in Dead Weight different?
A: Each region introduces new enemy factions with escalating difficulty and unique mechanics. For example, Region 2 features healers with instant resuscitation, while Region 3 introduces enemies with "no wind-up" attacks that drastically alter combat pacing. This makes understanding the Dead Weight Steam regions guide essential.
Q: How does the game's pacing change across regions?
A: The early regions allow for more experimentation and power-building. As you progress, particularly into Region 3, the game's pacing becomes much faster and more demanding, requiring precise tactical decisions and immediate threat neutralization due to unexpected enemy actions.
Q: Are there specific threats to watch out for in each region?
A: Yes. In Region 2, be wary of enemy healers who can instantly revive allies and foes with counterattack buffs. In Region 3, the main challenge comes from enemies that attack without warning ("no wind-up" abilities), requiring a significant shift in your tactical approach.